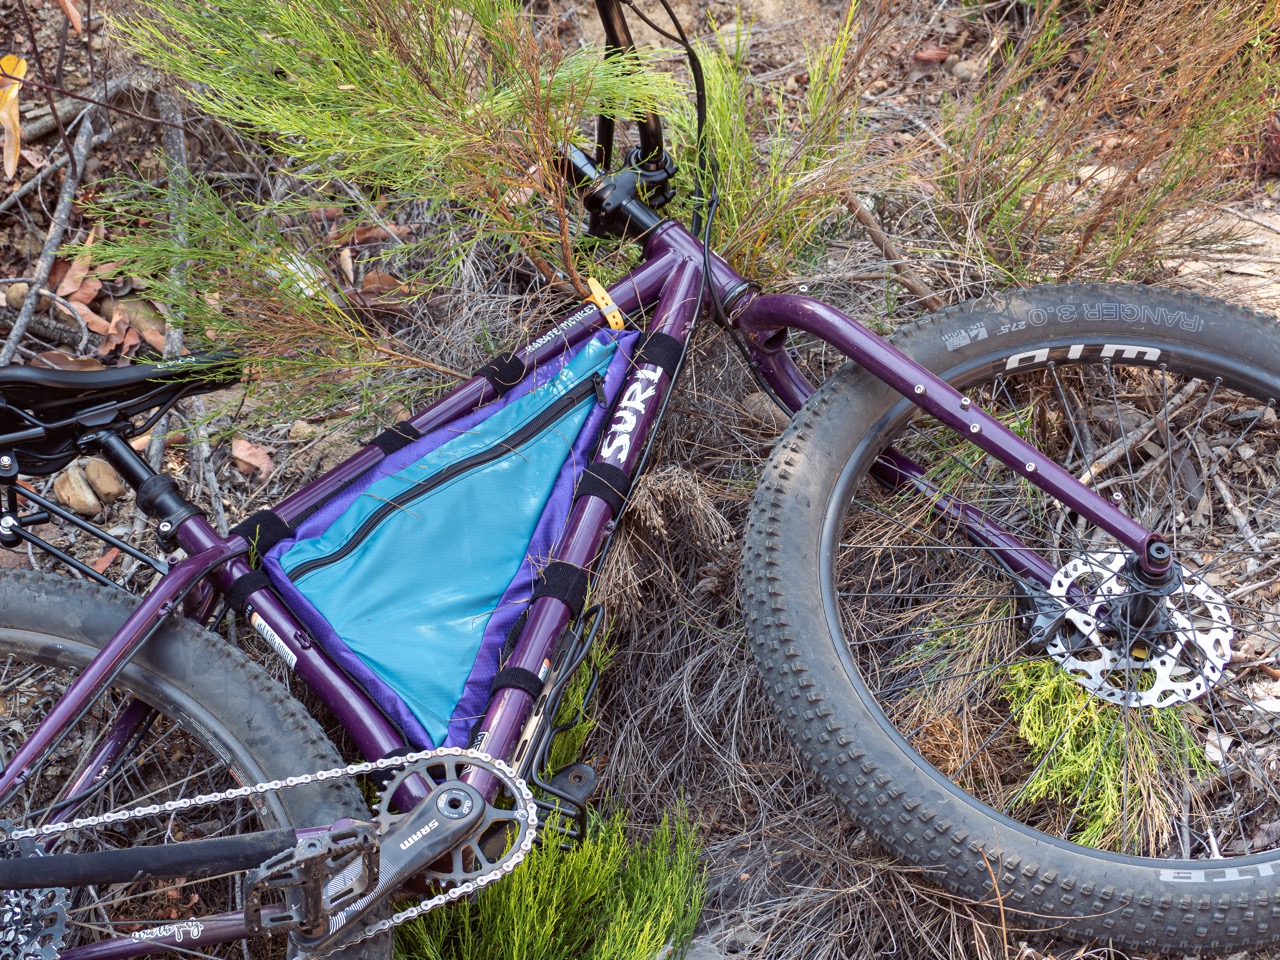
Karate Monkey Frame Bag
Jul 2025
I went on a ride with Vishal and crew a couple weeks ago. I was massively stoked by that ride and all of the people that I met and that so many of them care about bikes. Not to mention that many of them knew more about bikes or had been on more bike adventures than I had. Plus, many of them were also stoked on my bike, which was super cool. One thing though that was apparent was a lot of these people had frame bags, which seemed really cool. And a lot of them went bikepacking as well. And it's been something on my list and something I'm very curious to try. Given this, I figured I might as well toss together a frame bag for my Surly Karate Monkey.

I knew I had some fabric laying around for some planned backpack projects. And I more or less figured that this would be perfect to use for the frame bag. I had a bit of 200 denier and 300 denier ripstop, so I just decided to go with those.
I've never made a frame bag before, but I have sewn quite a few things at this point. I took a quick peek at YouTube and Google just to see how people generally make frame bags, and I learned two main things:
- Make a template out of cardboard
- Use webbing loops to attach the bag to the frame
For the template I put a piece of cardboard up next to my bike, I taped it onto the bike, and then I drew the shape of the triangle using a sharpie. From there, I cut it out and this was the template I was going to use and I basically winged it on the seam allowance, adding roughly a half an inch everywhere. And while this works...
After this, I cut out the actual pieces of fabric based on my template. And then I considered how I was going to add zippers to make the interior of the frame bag accessible. What I ended up doing is basically just cutting a straight line two and a half inches down from the top of each of the triangles. From here, I've basically sewed the zipper directly into each side of the cut fabric.
Then was making the giant webbing loop which would be the third panel for the frame bag. This panel would not only attach the bag to the frame, but also serve to give it depth. I wanted 2.5" as the depth, so I cut a piece of fabric that was 3.5" wide for a 1/2" seam allowance on either side. The length of this piece would be the sides of the triangles all added up plus a few extra inches for some breathing room. After this was cut, I found some 1" webbing laying around and I stitched this directly to this panel every 1-3/4". This would leave plenty of room for 1" or 1-1/2" velcro straps to attach the bag to the frame.
Once this was done, I sewed one of the front panels to the top panel to test fit it on the bike. When I did this, I definitely saw that the front panel was too long. So I took my seam ripper, undid all of the sewing that I had done, and cut that panel down to about what I expected to be the right size. This was about 2-1/2" off of the length in total. I then did this for the other side panel, which hadn't been sewn onto anything yet.
I then sewed everything together, and what you see below is the final product. It's certainly not a "perfect" frame bag, but damn did I make it and think it's pretty cool.

So far, I've been pretty stoked about this. It has made it far easier to just quickly go on a ride. It lowers the barrier to entry of me running to the grocery store, or popping by a coffee shop, or whatever. I don't need to throw anything in a backpack. I don't need to try to carry a bike lock with me. It just goes in the frame bag, and I move on with my life.